Creating a table within the HTML editor
- From the HTML editor, position your cursor where you want the
table to be displayed.
- Click the Table icon:

- Hover over the Insert table link to expand the
row & column selector grid. Move the cursor over the grid until
you highlight the number of columns and rows you want.
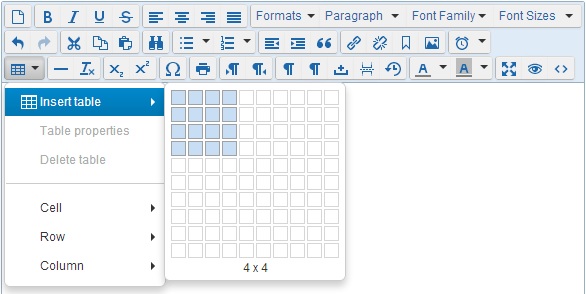
- Click and the table will appear in your text area.
- Add (or drag &
drop) your text and images into each cell of your table.
- To align all text and images in the center of each cell:
- Use your cursor to highlight one or more cells in your table
to be aligned.
- Click the Table icon and select Cell
> Cell properties.
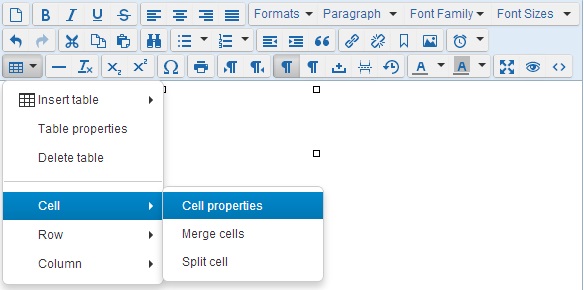
- For Alignment select Center.
- Click OK.
- Click Save when finished.
Was this information helpful?
|
|